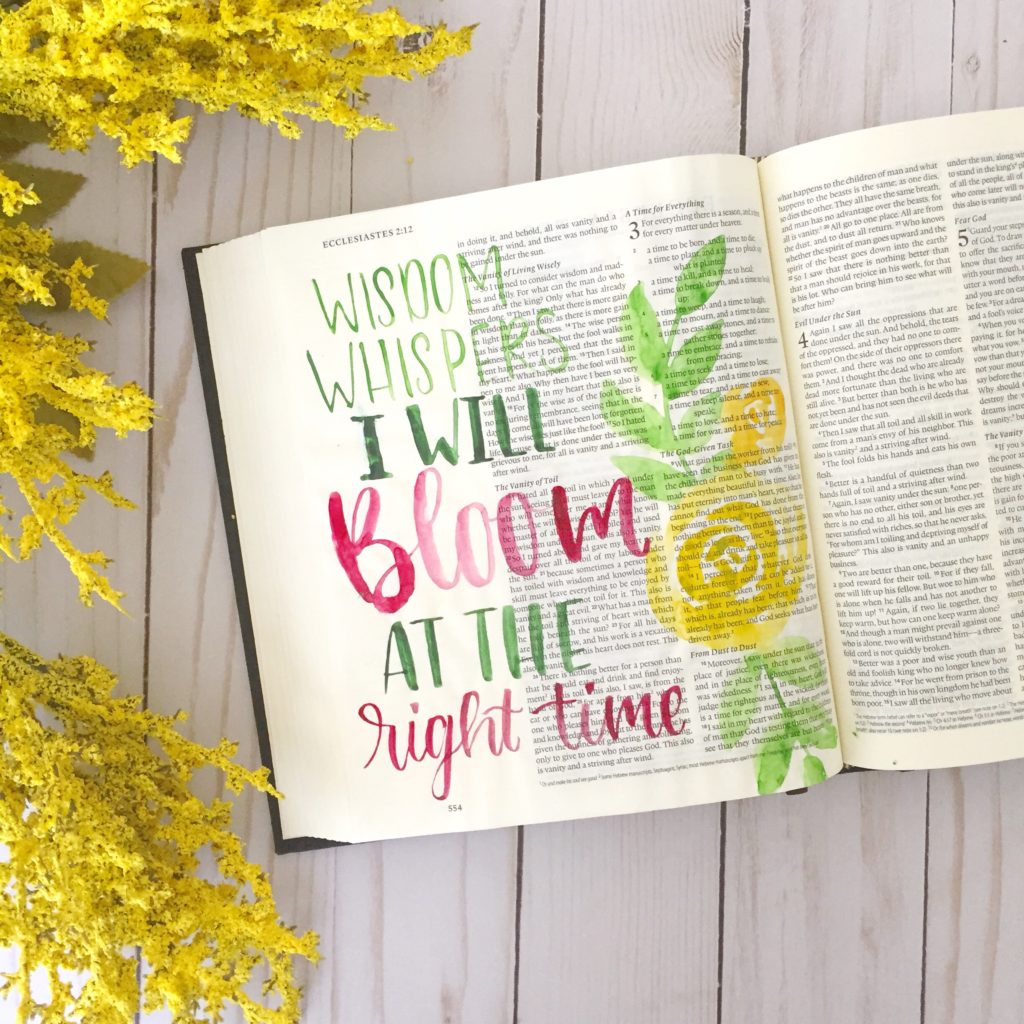
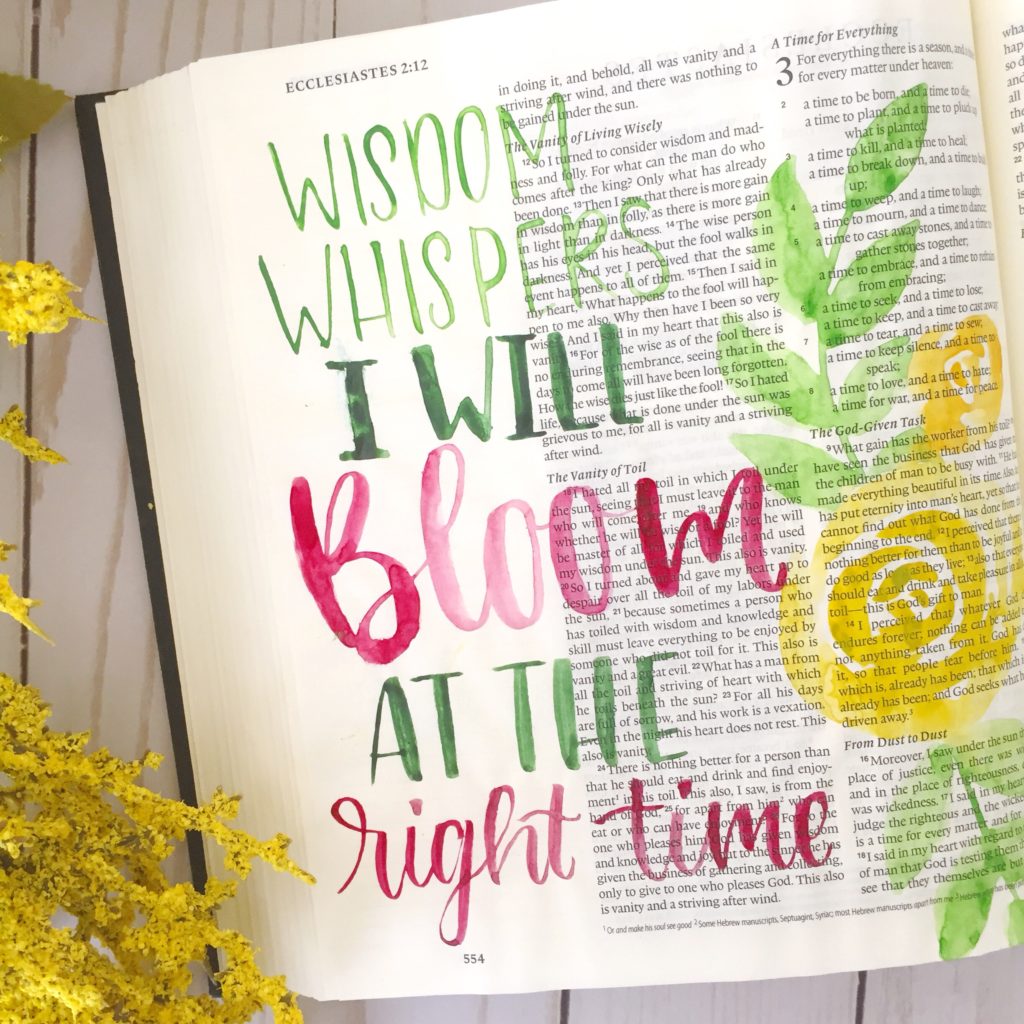
It has been a while since I’ve done a hand-lettering tutorial! I have posted on faux calligraphy and brush-pen calligraphy, but not on using an actual paintbrush to do calligraphy!
To be honest, lettering with a paintbrush uses the exact same methods as brush-pen calligraphy; the only difference being that you have to load the paintbrush with paint beforehand.
If you are brand new to lettering, I suggest starting by learning faux calligraphy, then brush pen calligraphy, and then paintbrush calligraphy. Being that using a paintbrush is the hardest to work with. I also have free worksheets in both my faux calligraphy and brush pen calligraphy posts that could totally be used to practice with a paintbrush as well!

The truth of the matter is that lettering is pretty straightforward! When your brush is going upward, you try to apply as little pressure as possible, and when your brush is going downward you apply pressure. Sounds easy huh? The difficulty comes in actually doing it.
As with anything else, it just takes lots of practice! It takes time to figure out the best angle to hold the brush, or the amount of paint to load the brush with, or even the letter shapes that you like most. The best way to learn is by doing! So grab a paintbrush and some watercolors (you, of course, can use this same technique with other paints or inks, but watercolor seems the easiest) and give it a shot!
Some Little Tips
- Try using various lettering styles as I did in my Bible page! I have a post/ free printable on 10 simple hand lettering styles that you can totally do using a paintbrush with some practice!
- Try holding your brush at a 45-degree angle. This tends to give you better control and makes it easier to create thick downstrokes.
- Play around with the amount of water or paint you use. The beauty of watercolor is the variation of saturation/ opacity that you naturally achieve. Play around with using less water and more pigment, or less pigment and more water. Keep in mind, that if you use too much water, you might get a blotch or pool where your brush first meets the paper. This really just takes some trial and error to get a hang of preventing.

Wisdom Whispers Bible Study
The page I worked on in the video was inspired by the Wisdom Whispers Bible study by Living By Design Ministries. I am a part of the Ministries’ creative team and created coloring pages for the study! The Study is 31-days, completely free, and goes through the entire life of King Solomon and what we can learn from his mistakes. We focus on hearing Wisdom’s call to salvation, obedience, and humility. I always feel a little awkward being all “promote-y” but I really do think it is a great Bible study! You can sign up to go through the study at any time by clicking here.
One Last Thing
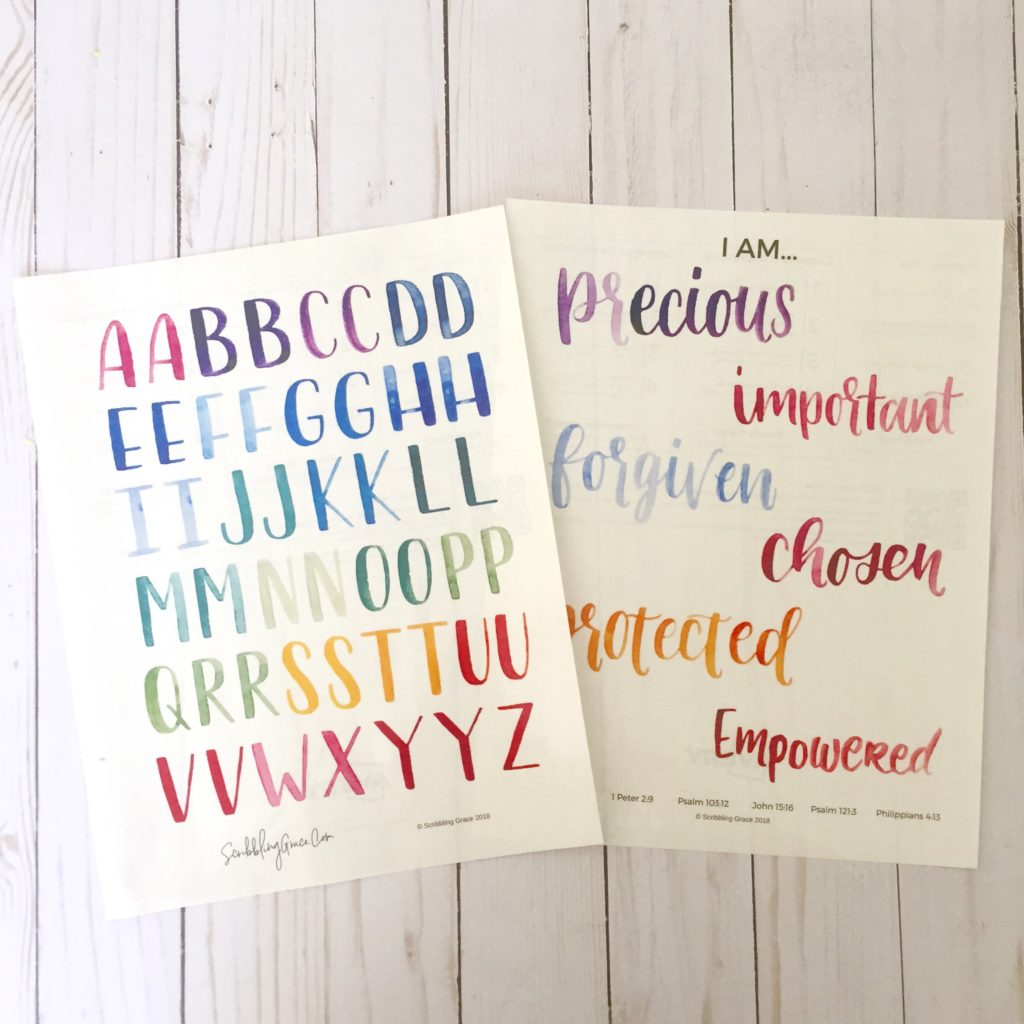
If you like the look of watercolor lettering, but doing it yourself is just not your thing, I sell some watercolor lettering printables in my Etsy shop! I have a full alphabet that you can use to create your own words, and well as an “I Am Power Words” printable that is one of my favorites!

Materials Used and Helpful Links
*This article contains affiliate links. CLICK HERE for my full disclosure*
ESV Double Column Journaling Bible (I sell these Bibles with hand-painted covers in my Etsy shop as well)
Kuretake Gansai Tambi Watercolors
Aquash Water Brushes (I used Small and Large sized in the video)
Size 8 Round Paintbrush (I just get the cheap bundle packs form the department or craft store)
Brush Pen Calligraphy Tutorial- with free printable
Faux Calligraphy Tutorial- with free printable
10 Simple Hand-Lettering Styles- with a free cheat sheet
