Hi Friend,
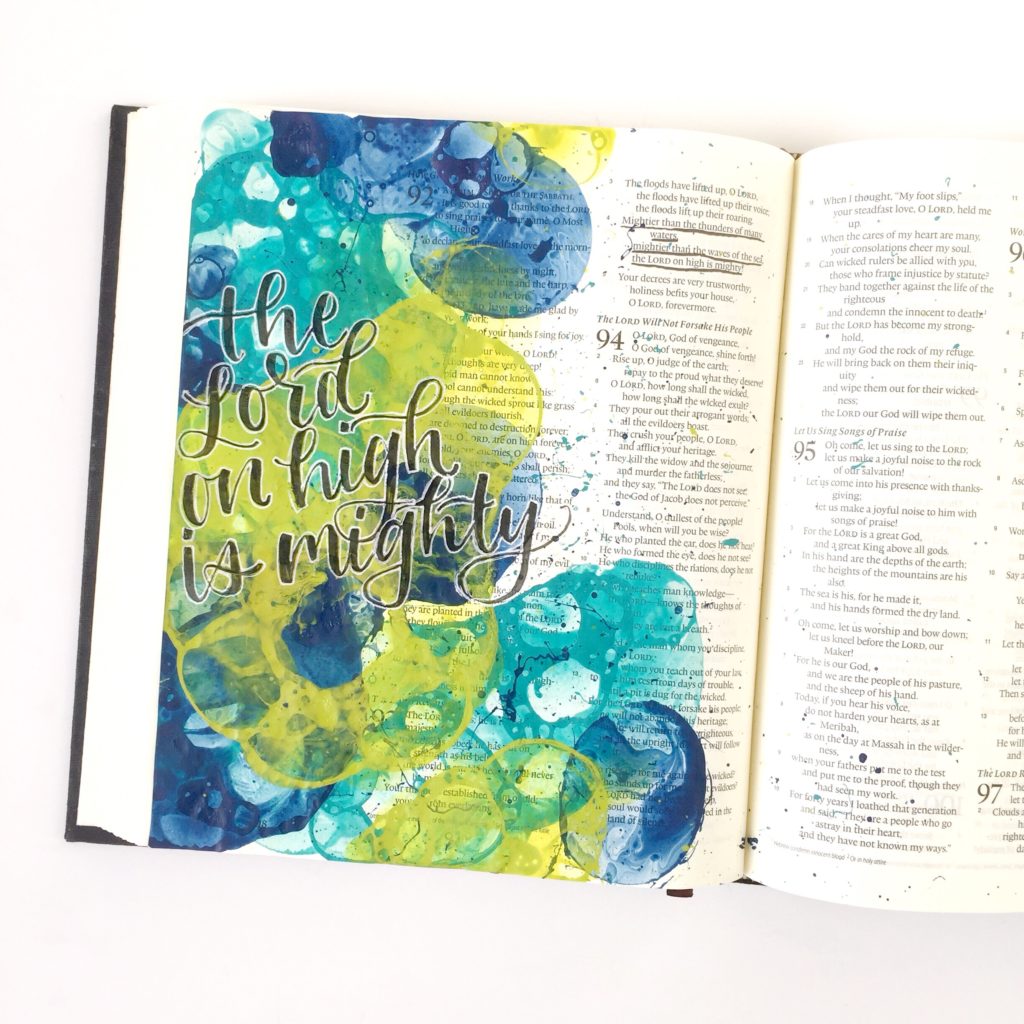
A few months ago in my post on “Three Fun, Easy, And Creative Techniques To Try” I talk about bubble painting. This is by far the technique that I get the most comments about! It is just so FUN and so unique; so I thought I would bring it back and go a little more in-depth on how to try it!
Now, this technique is MESSY, and you don’t have a ton of control over what it will look like. It takes some guts! But if you just let go of perfectionism and embrace the chaos- and enjoy spending the time in the Word- I bet you’ll love this technique as much as I do!
I have a video below that shows exactly how to create a Bible journaling page with bubble painting, but I wanted to give a little overview here as well.

First, let’s start with a list of the supplies you need.
*This article contains affiliate links. CLICK HERE for my full disclosure*
-1 TSP Acrylic paint per color/cup (I use the cheap Apple Barrel paints)
-1/2 TSP Water per color/cup- To make your paint less opaque you can add more water- although the more water you add, the more likely you will lose the distinct bubble imprint
-1/2 TSP Dish soap per color/cup
-Cups (I use smaller plastic cups but any cup works)
-Straws (any size works! Just be sure to dispose of them properly to save our sea animals 😉 )

Other materials I used for my page:
–Tombow Fudenosuke Brush Pen (soft tip)
–ESV Double Column Journaling Bible

The Process Is Simple
Simply add the paint, water, and soap into the cup and gently blend it together using the straw. It’s important not to stir it together too ferociously or the mixture will get foamy, which will make it much harder to create bubbles with.
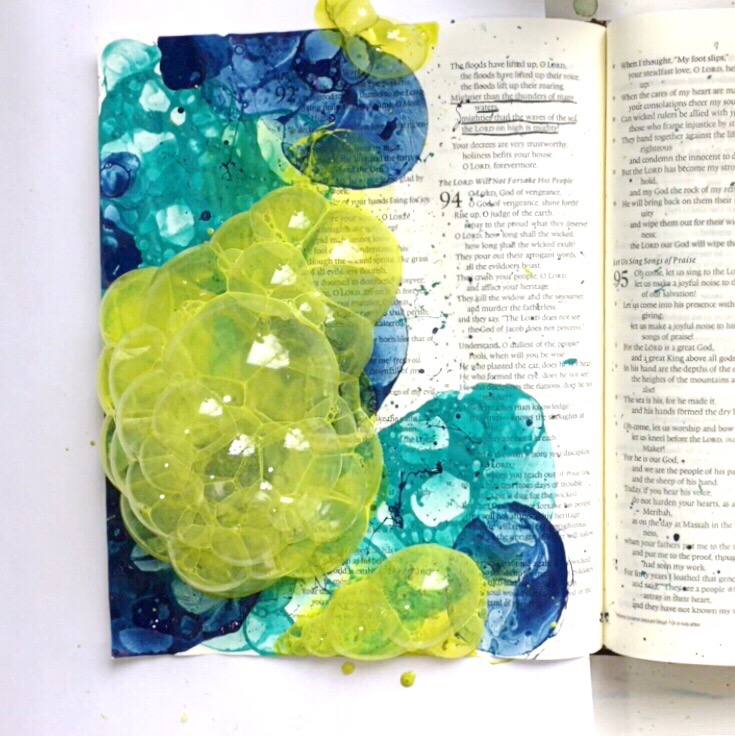
Next, put one end of the straw into the paint mixture and blow on the other end to create bubbles! Blow until the bubbles dome over the top of the cup. Then gently use your straw to push the bubbles onto the page!
Do not touch the bubbles once they are on the page! If you try to fiddle with the bubbles, they will all pop together and you won’t get the same cool effect.
Then let your page dry completely! I would not suggest using a hair blow dryer, but you can use an art heat gun- though I recommend just letting it air dry. I also like to do one color at a time to assure I don’t pop the previous bubbles early and my colors don’t muddle- but you can totally try that if you want!
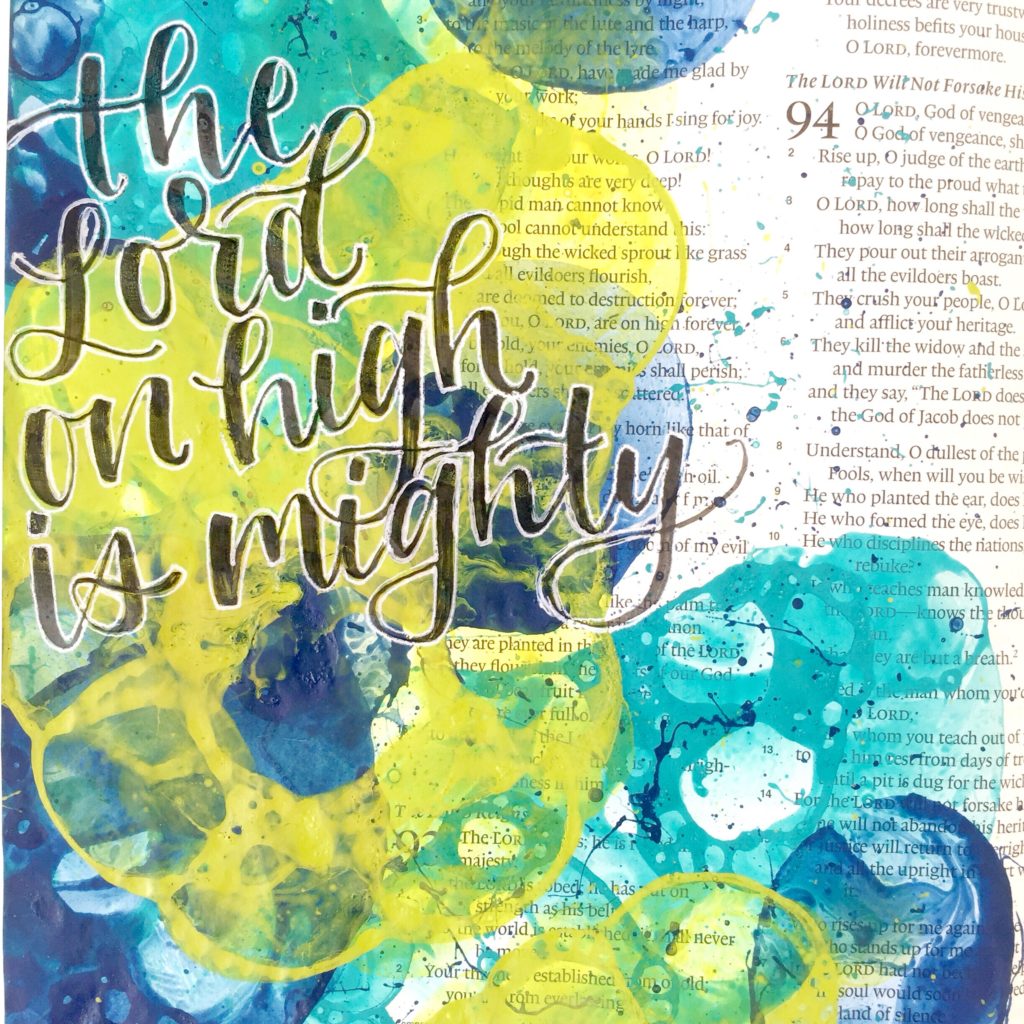
Lastly, let it dry and finish it up with some lettering, stickers, stamps- you name it!
Remember to enjoy the process!
One last thing to note– Because this technique is so messy, it can be hard to keep it to just the margins. However, add a little more water to the paint and you should still be able to see the scripture underneath. Alternatively, you can do the bubble painting on a separate piece of paper and make a tip-in out of it!
